There will be a lot of these. I hope y’all enjoy them. Maybe I’ll figure out how to link them all together one day. Lol
So! I unmolded them! I learned a lot! Here they are first, then I’ll talk about them.
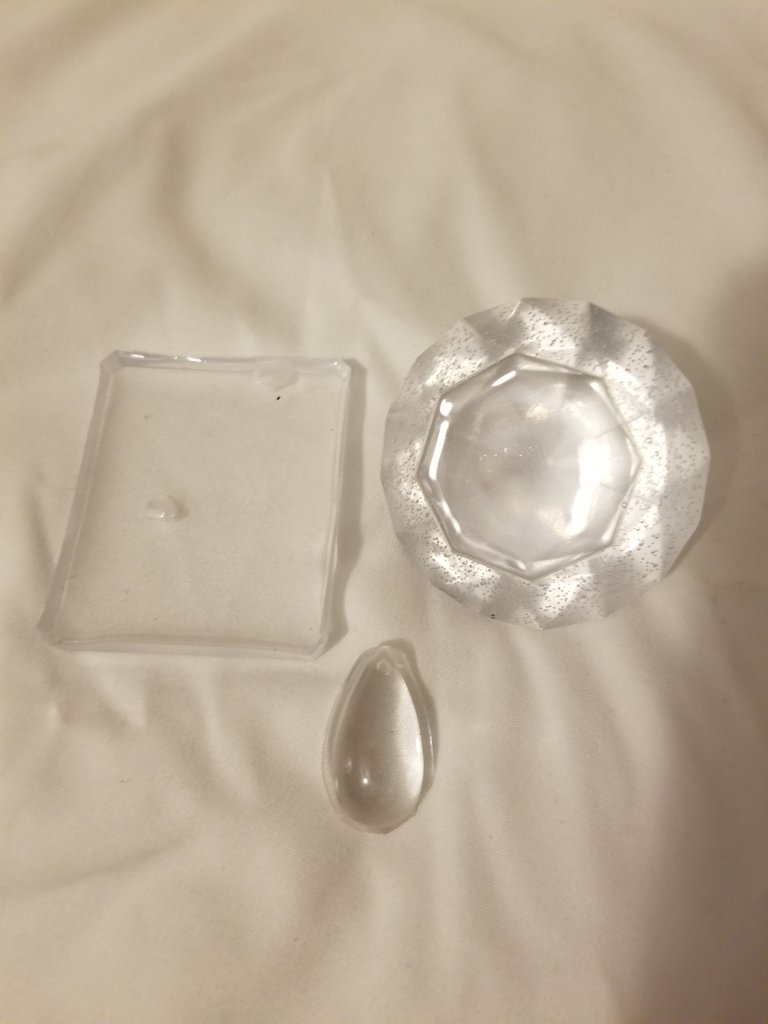
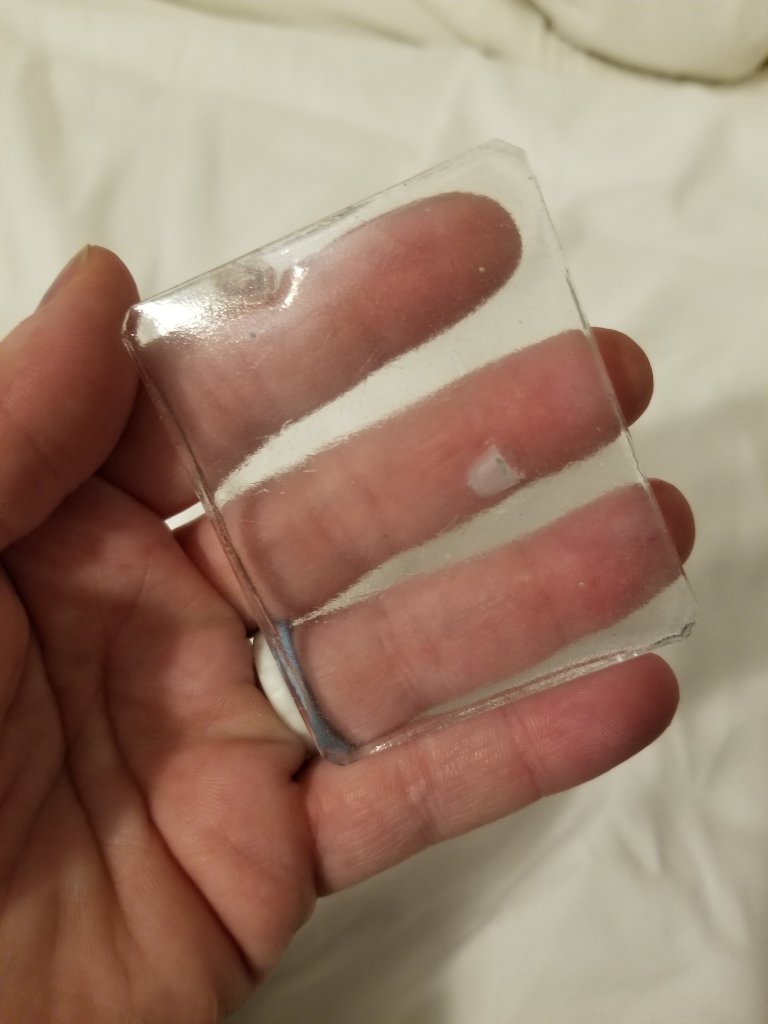
Here they are: Diamond in silicone mold, flat in blister pack, and pendant in silicone form. The silicone mold was really easy to use, and I did have to destroy the blister pack to get it out.
Blister oack: definitely easy to use, but you destroy it in the process, but as long as you keep as many blister packs as I have, you’re fine. 😉
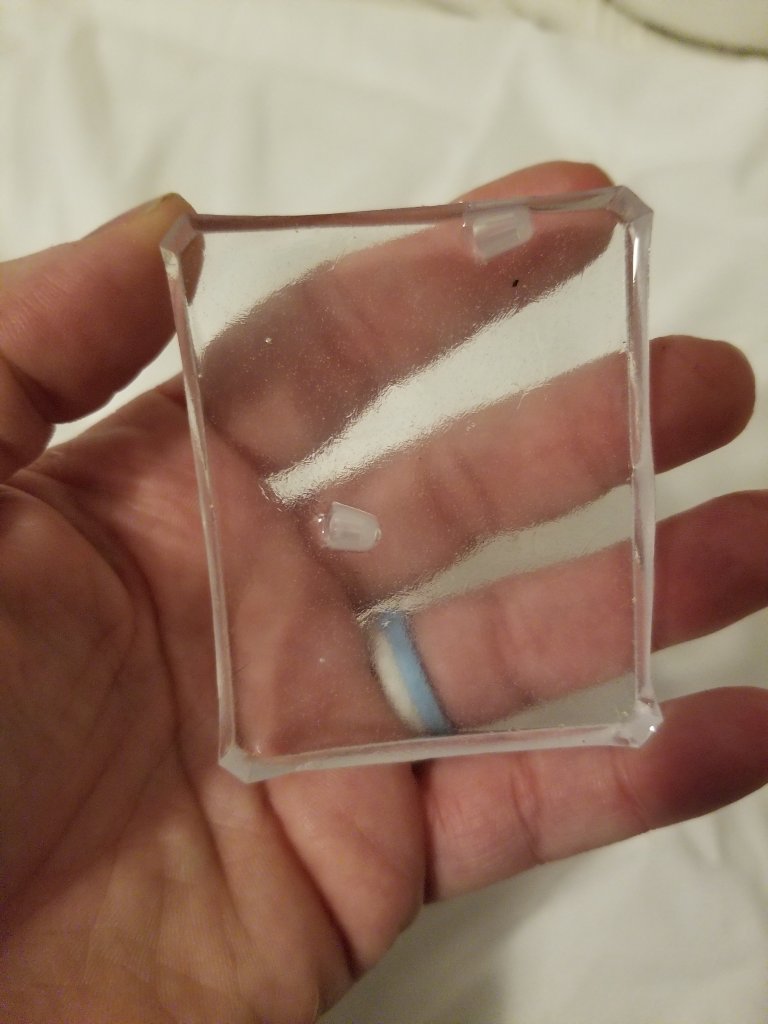
It was a little less shiny and smooth than the silicone molded one, but if I plan on sanding them anyways, I’m not sure that is a deal breaker.
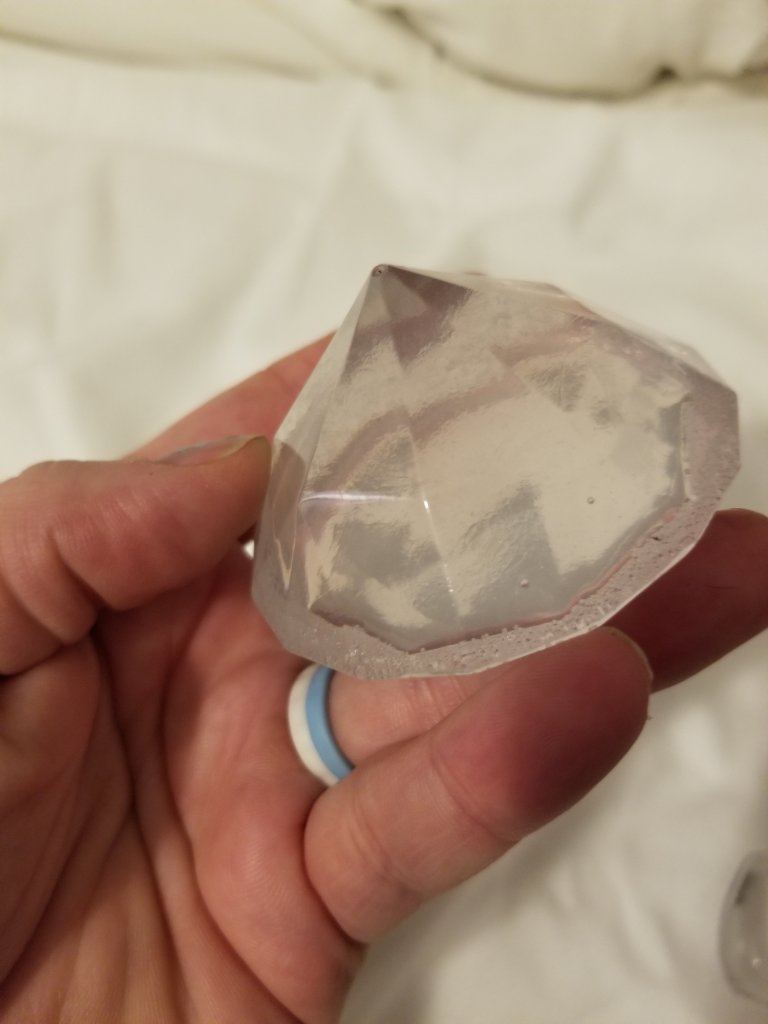
Silicone mold came loose easily, smooth edges, top is clear as glass. The part of this diamond that was under the mold kept the bubbles. I guess they couldn’t escape. I also used the lighter method to pop the bubbles on the top, but obviously couldn’t get underneath to pop those.
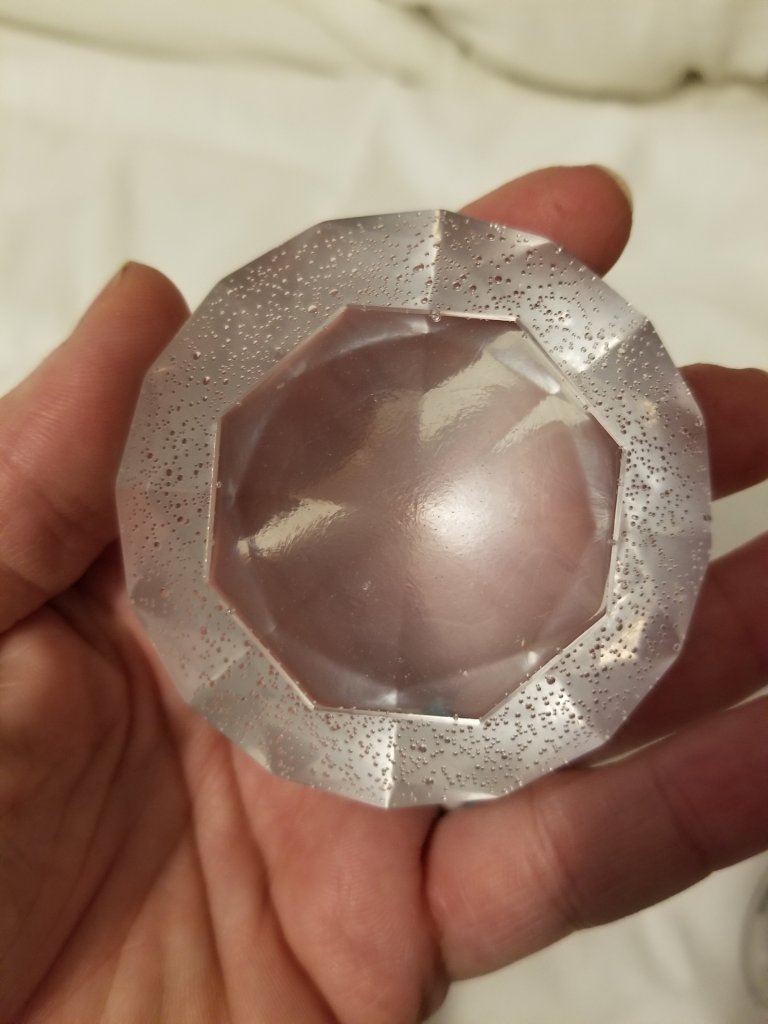
the bottom is definitely more shiny than the blister pack, but the point has a bubble. Blast! (this mold is not the one I’m planning on using ultimately, just a practice one.)
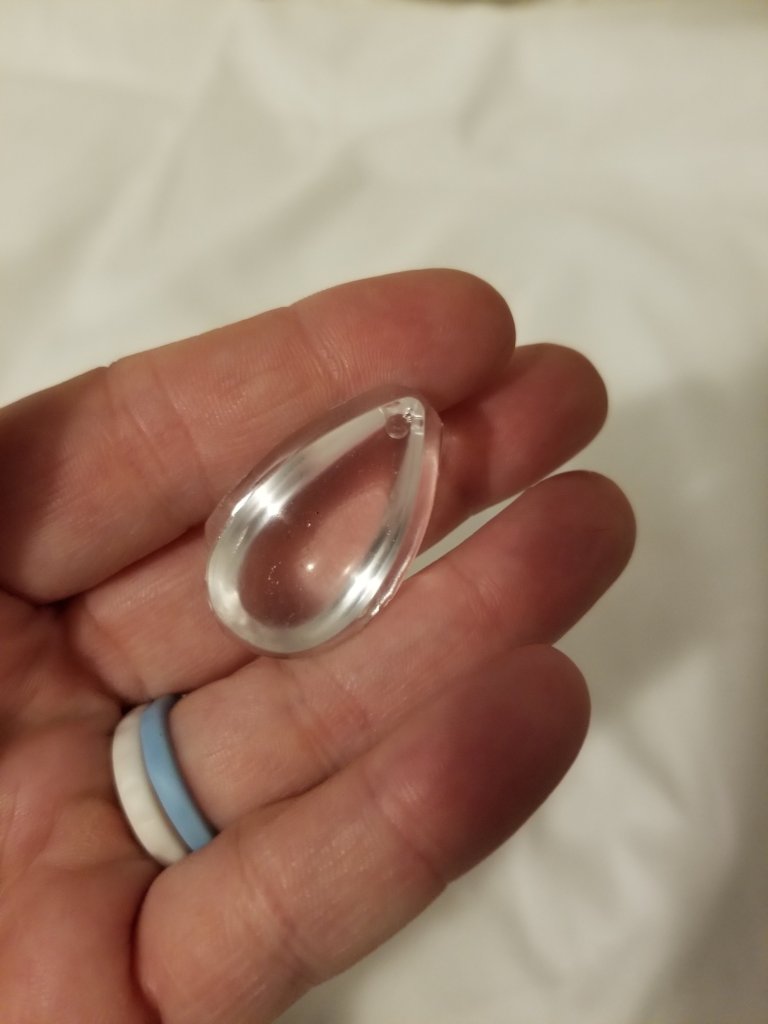
with the pendant mold, I overfilled it. I thought that it would even out, but it ended up spilling over.
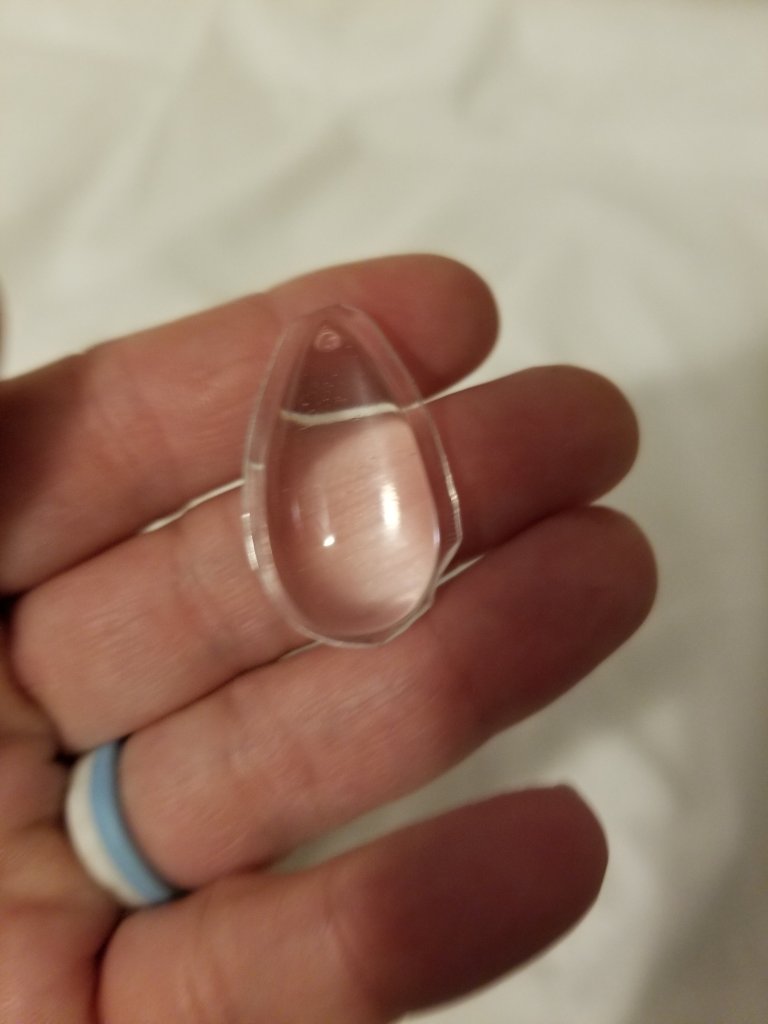
but, it came out super smooth, almost no bubbles!
The experiment for tonight is a cube with some plants and a little color in it. I used one drop of Christmas green and one of blackened brown. I discovered that the cube mold needs more than 100mL of resin, which is as big as my measuring cup will do. So it will require 2 pours. As soon as I have results of that, I’ll post them!
Thanks for coming along for the ride with me!
-marinealRose

I’m pretty sure de-moulded is the right term (you mentioned in the previous post). Serious casters have a vacuum machine (to remove bubble from the resin prepour) or a vibration table (to try and shake them loose post pour). If you carefully pour your resin down a stick you can usually help minimize bubbles from pouring….you may still have bubble that don’t get displaced off a mold but that’s usually related to the sculpting/shape/geometry. I think if you do a two layer pour and your resin starts to cure by the time you do the second pour you may find a noticeable plane in the final product (especially as you are using a clear resin). It may be worthwhile to get a large dixie cup or two and mix the resin at the same time and just pour it all from two cups at the same time. This all becomes tricky when you have short curing times.
LikeLiked by 1 person
Thanks! I’ll have to try that. I was thinking about turning on my dryer and setting it in that tonight. 😂
LikeLike