I’m just going to keep doing this until it works. Lol.
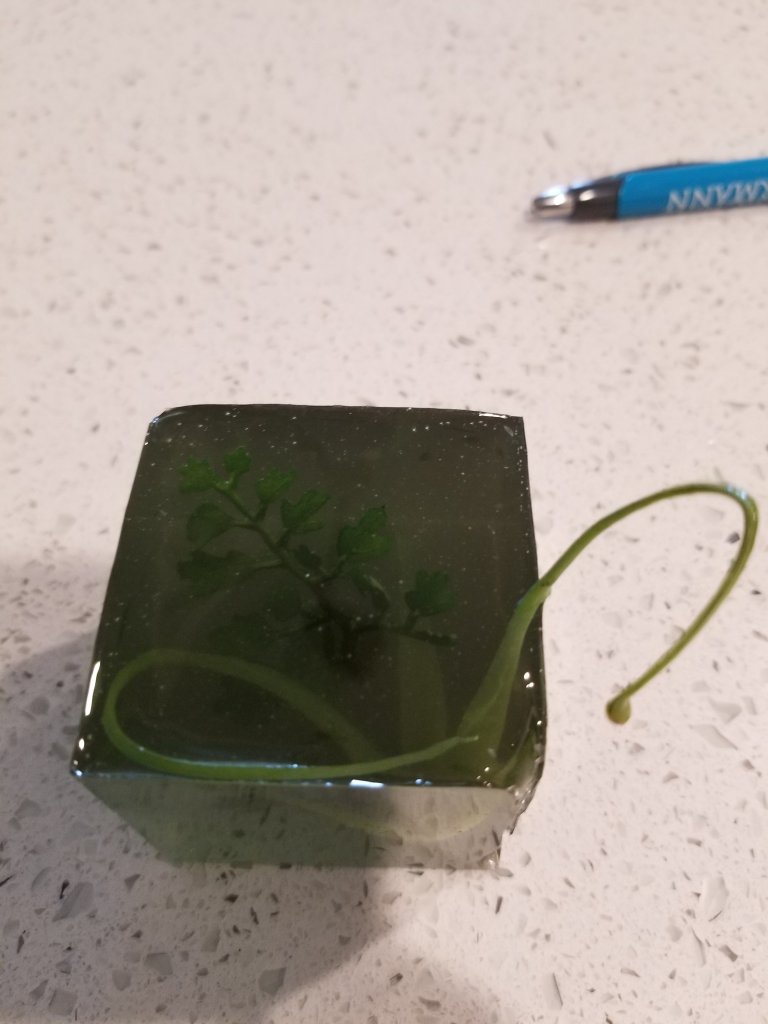
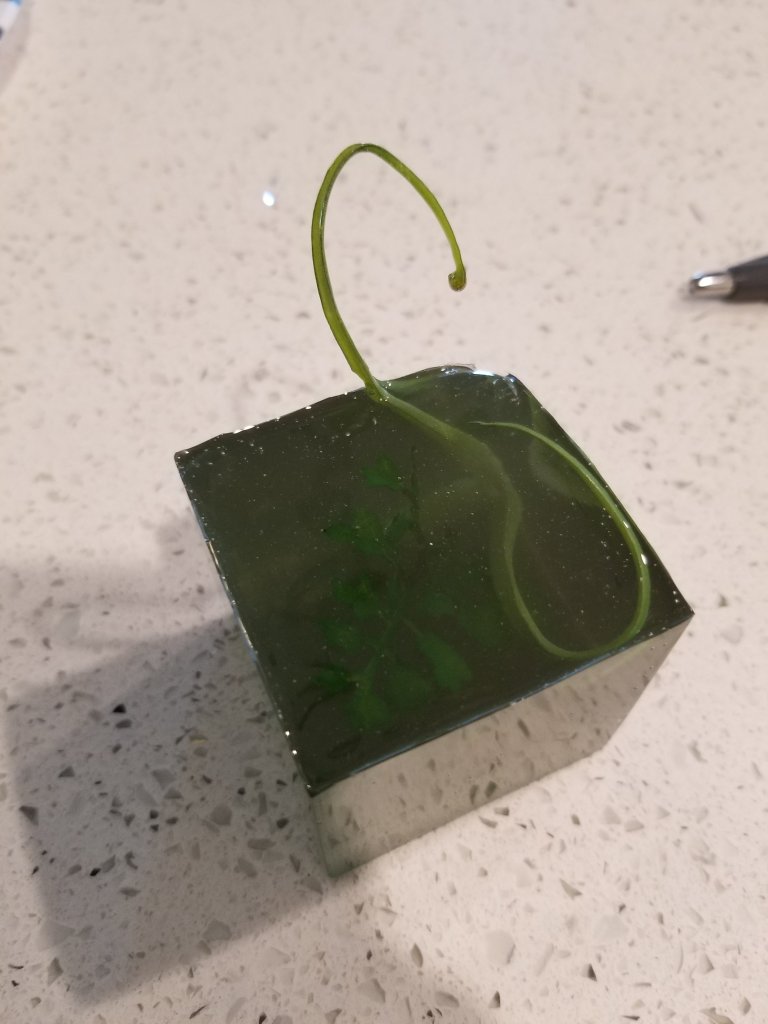
The third attempt has been the most successful to date! I just had one spot where it pulled away from the corner.
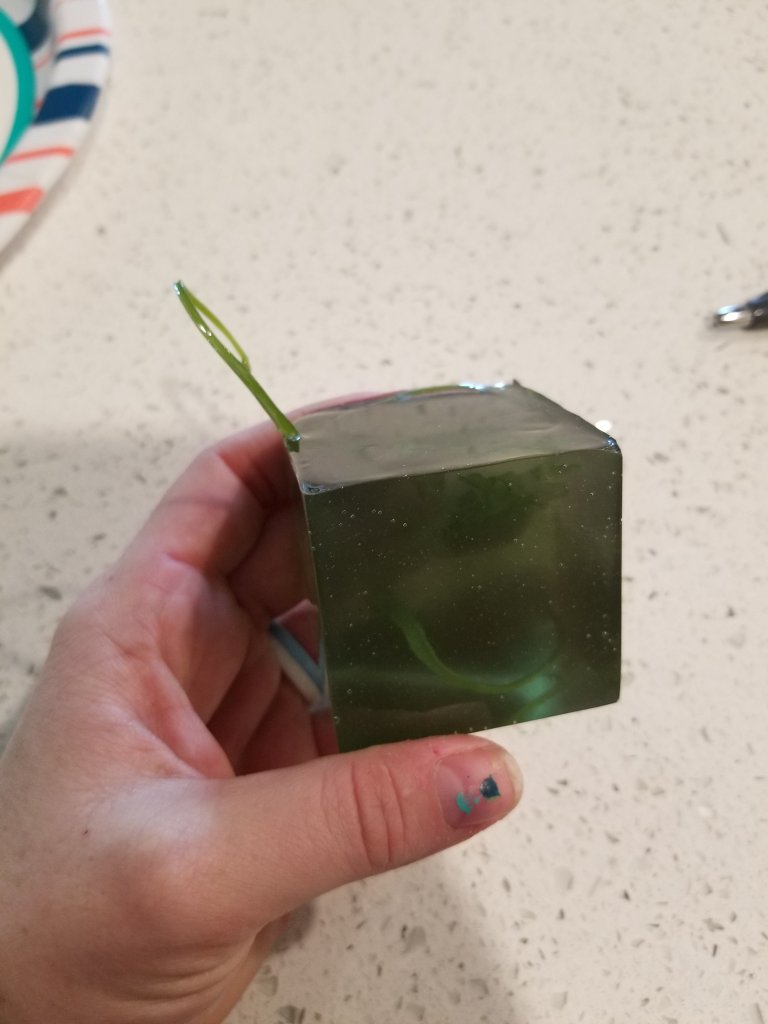
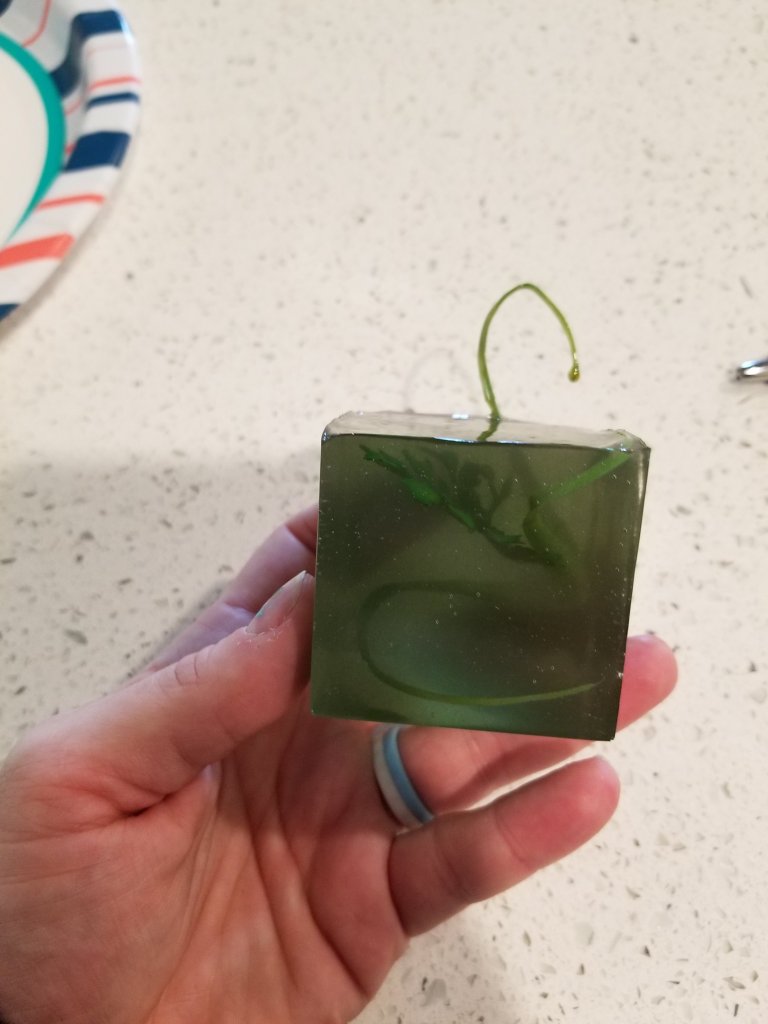
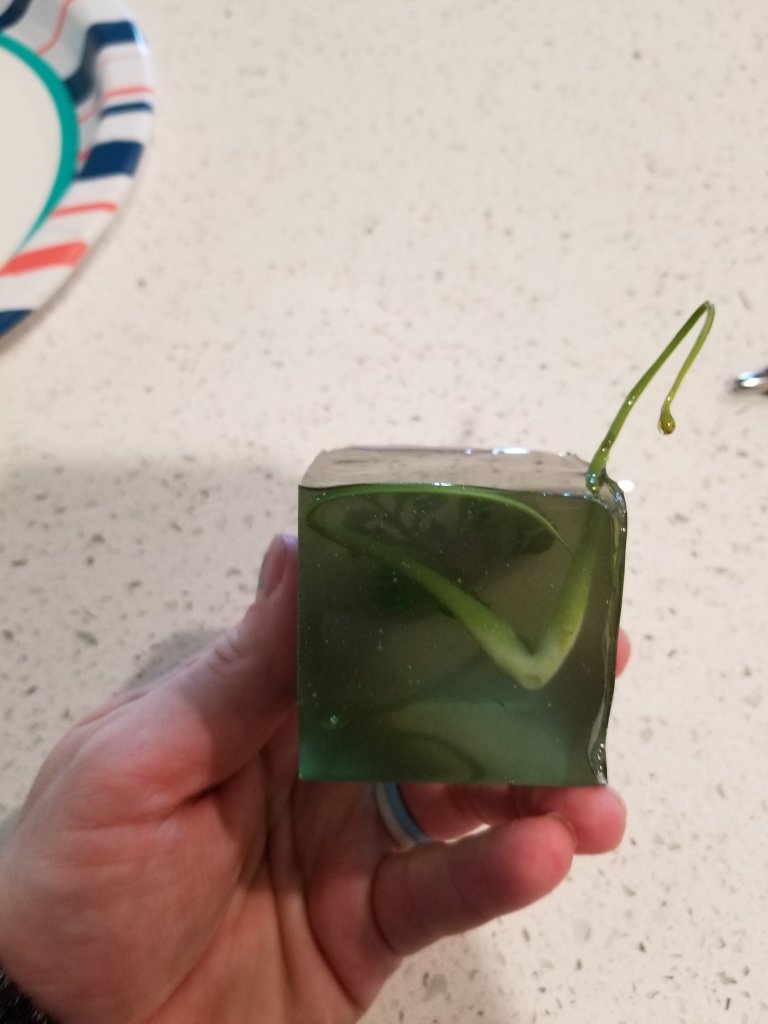
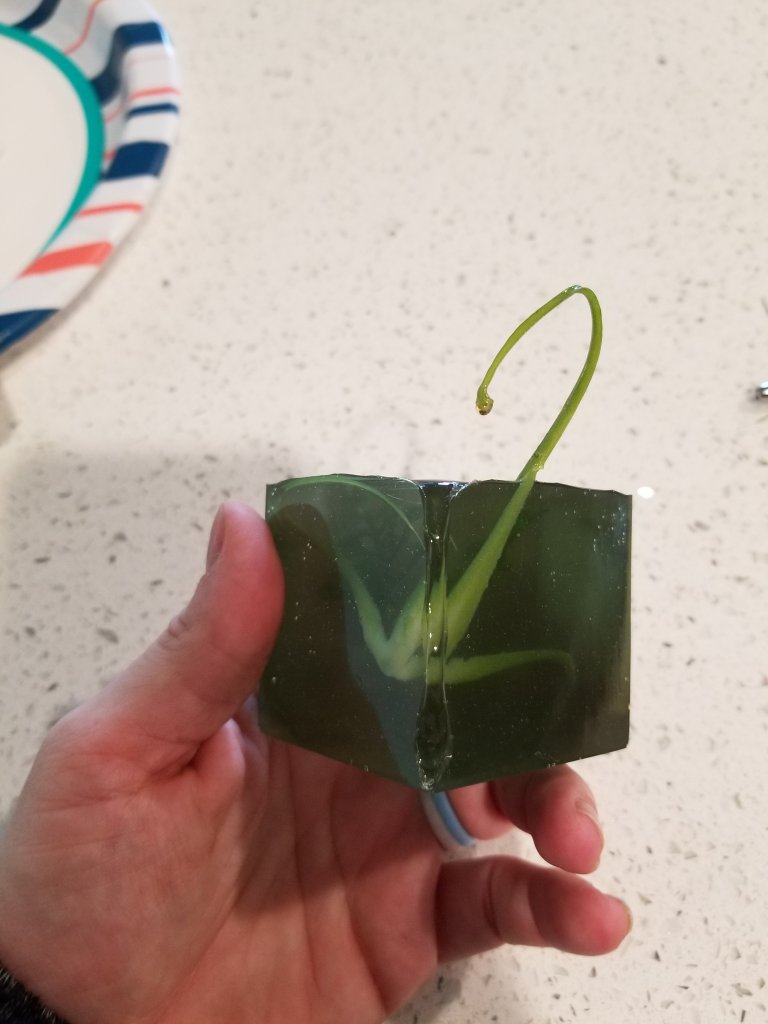

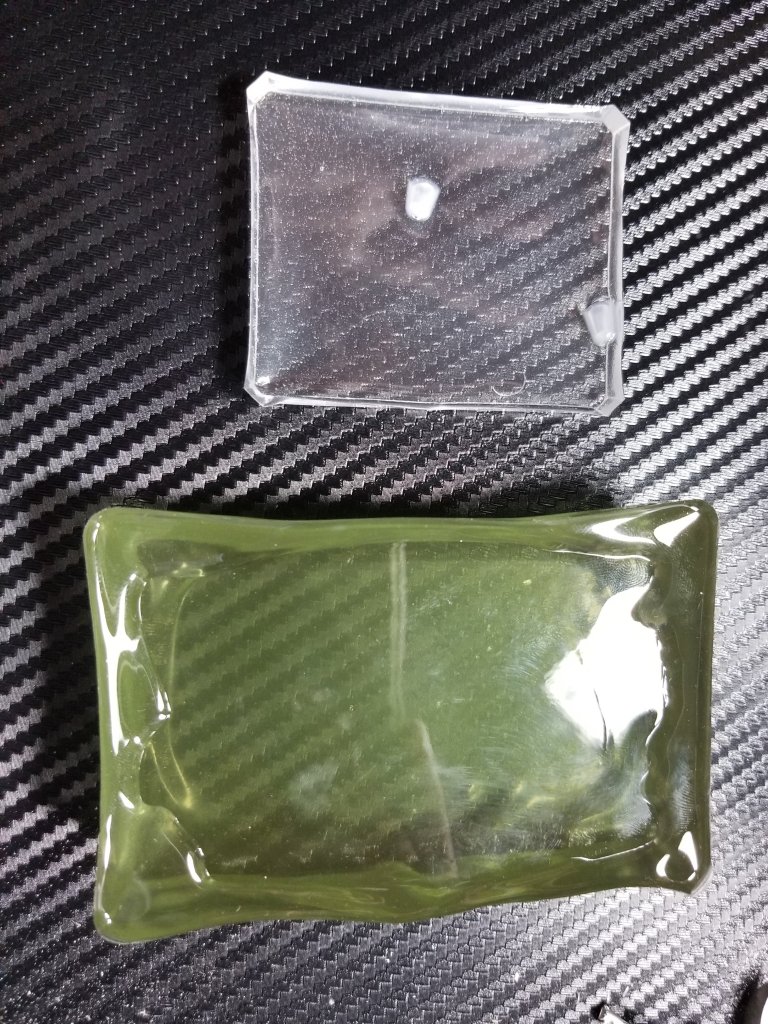
To achieve this end I did the following: mixed in a larger cup so I could mix a larger quantity (200 mL was too much, 100 too little), changed the quantity of color (I think it’s a little too dark now), and put it on the dryer to be agitated. We’ll, I put it on the wood resting on the dryer, so it might not have been as vibrate-6 as it could have been. I also went back to check on it every about 10 minutes and popped any bubbles with a lighter. I did find that the one I did in the blister pack greatly warped, I’m assuming from the heat.

So I would not recommend using that thin of plastic for larger pours. For the smaller one, I had no such issue of warping.
To recap, these are the 3 steps I have taken so far.
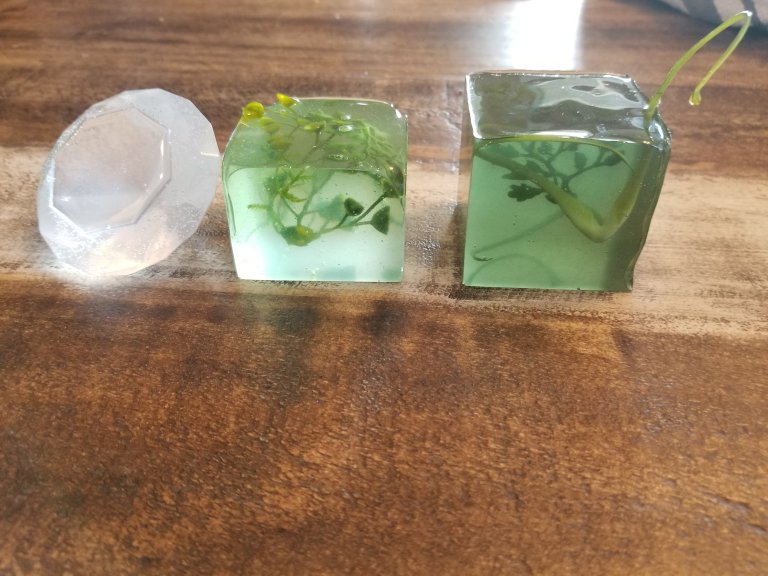
I have learned something every time, and each change has brought good results. I hope this has helped anyone else attempting this.
I’m going to do a fourth pour tonight. My changes will be: mix 150 mL batch, add the same amount of color as I did for the smaller batch, and agitate directly on the dryer. I’m also going to do the initial mixing for a longer period of time. Just in case I’m not completely mixing it and that’s the reason for a big bubble in the corner?
Let me know what you think!
-marinealRose

I think your corner bubbles are when air refuses to let go of the mould and be displaced by the resin. This happens with most moulds and is particularly notable where the air can ‘grab’ the best. This is why you see bubble flaws in commercial resin in finger tips, noses, and narrow edges. It makes sense the corners of a cube will be the most prone to ‘holding’ air.
When your pour your resin you can use your stir stick like a slide/straw to control where it goes (and this also minimizes bubbles from a turbulent pour). You might want to specificially try and pour resin down the corners (run the stir stick with resin pouring off it in each corner) right at the beginning of the pour and then complete pouring in the middle to bring the level up.
If you are looking for a perfect surface you might want to invert your vegetation. The bottom of the cubes will probably look a lot flatter and more pristine. You can hide the ‘open’ face of the mould/cast with a base/plinth/etc. It may be a non issue as you are probably doing some detailing on the surface and it’s supposed to be a scungy marsh….
LikeLiked by 1 person
I tried to specifically pour into the corners on this last try, and it seems to have worked. We’ll see when I demould it tomorrow. And I didn’t even think about pouring it upside down!!
I do plan on putting a mini in though, so that won’t work on my final product. That’s my real big motivation to get my resin pours consistently perfect. I don’t want to spend a bunch of time on painting and basing a mini to ruin it with resin!
LikeLike